

You've just completed everything with your latest brand collaboration. The content has been submitted and approved, and all the time and creativity spent on the project has finally paid off. All you have to do now is send an invoice to the brand! A comprehensive and professional-looking invoice reflects highly on your business and builds trust with clients. Important questions, however, can stymie this invoicing process: Who do you need to submit the invoice to? What were the payment terms? How do I manage late payments?
It takes creativity, strategy, and considerable knowledge of current market trends to be a successful content creator. And, you're most likely managing several clients and projects at once. Here at Indy, we want to help freelancers with the burden of administrative activities, so more of your time can be spent creating high quality content for your clients! In this article, we'll walk you through the process of writing and sending the perfect invoice to brands, and tips and tactics for making invoicing simple.
What Is an Invoice?
An invoice is a statement that shows how much money your client owes you after you finish a project or provide a service. It explains what items and services your business has provided, how much they cost, the payment due date, and how your client may pay you.
When should you issue an invoice?
An invoice should be issued after you have completed a client or customer’s order—this could be for products, services, or both. If your business provides physical products, typically an invoice will be generated shortly after delivery.
If your business provides services, for example, content articles or graphic design, the invoice is typically generated after the service has been approved by your clients.
Should I agree on payment terms before the collaboration?
When it comes to freelancers, brands are becoming more flexible with billing—companies and brands understand that collaboration is about building relationships.
That's why it's a good idea to discuss your preferred payment method and terms during the early stages of your project.
There are three important terms to consider:
- When you are going to be paid:
- Typically, most freelancers charge for their services 30 days after content is posted. However, you may wish to be paid immediately after work has been approved.
- How you are going to collect payment:
- Make sure to establish how you want to get paid by the client. Your agreement could include something like this: "freelancer will be paid per payment instructions on invoice."
- When and who you should invoice:
- Check that you are sending the invoice to the correct person and at the correct time.
An agreement between yourself and your clients can be done using a scope of work.
How to Create a Professional Invoice Template: a Step-by-Step Guide for Content Creators
A comprehensive and professional-looking invoice should include:
- Issue date
- Invoice number
- Business/freelancer contact details
- Client contact info
- Purchase order number
- Description of products/services provided and quantities
- Total price
- Payment terms
- Payment options
Step 1 - Design the Invoice Structure
The first step to creating an invoice is to design the invoice structure; the more professional, the better! To start, your business name and logo (if you have one) should be prominently displayed at the top of the page. Next, create a header and sections for each of the points listed above.
Although most clients will leave your invoice in digital format and pay online, aim to create your invoice inside the standard margins (8.5 x 11")—this makes it easier for those who wish to print their invoices, even if it is a recurring invoice.
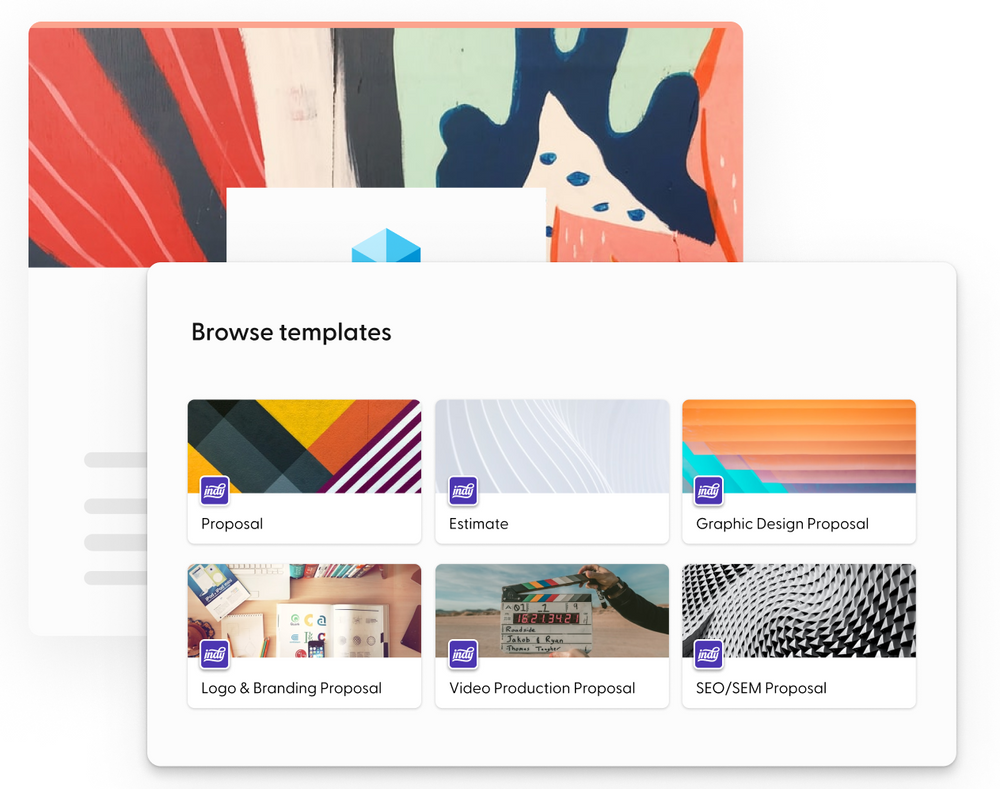
Indy can take the stress out of invoice structures—create an industry specific and professional free invoice template with our online invoice software!
Step 2 - Add the Client and Business Details
Now that you have your invoice structure all planned out, it's time to add the invoice information. Start with yours and the client’s information, including the name and contact details for each.
In a smaller font, provide your business address, phone number, and email address just below your business name. This allows clients to simply contact you if they have questions or issues. Even better, satisfied customers may share your contact information with their friends and relatives.
Directly underneath, include your client’s name and contact information. This ensures that the invoice will be delivered to the correct person.
Step 3 - Add the Invoice Number and Invoice Date
The unique invoice number and issue date are the two most crucial numbers on any invoice.
An invoice number is a one-of-a-kind number assigned to each invoice. When making a payment, a client will use this number, and it also helps you remember what this payment was for. Many businesses will not accept an invoice unless it has an invoice number, which also helps them to track payments.
Here are four tips to create a unique invoice number:
- Number your invoices sequentially (for example, INV001, INV002)
- Start with a unique customer code (for example, ART001)
- Include the date at the start (for example, 2023-05-001)
- Combine the customer code and invoice date (for example, ART-2023-05-001)
Make sure to include the date the invoice was generated underneath the invoice number. Add these items at the top of your invoice, and make sure they are clearly visible.

Step 4 - Add the Description of Products or Services Provided
The next step is to add your line items. A line item is just a detailed description of each service and/or product offered, together with the associated expenses.
Add quantities ('QTY') to a column beside each line item to reflect the amount of labor hours, materials, or other units you're pricing for.
Include the hourly rate and the subtotal if you are tracking time to be paid hourly.
Step 5 - Add the Total Amount
After you've priced each line item, total it up and write it near the bottom of your invoice. Calculate any sales tax, service charges, or discount pricing you used on the project, and record the total amount due on a separate line in bold.
Step 6 - Add the Payment Terms and Options
The final step is to include your payment options and terms. Payment details go at the bottom of your invoice, and should include:
- The entire amount owed
- The payment deadline
- Late fee penalties and policies
- Any warranty, including money-back guarantee
- A list of accepted payment methods (PayPal, bank transfer, cash, etc.)
If you have agreed on a payment method with your client before the work commenced, you will still need to include that in this section.
How Indy Can Help with Invoicing
At Indy, we aim to make freelancing simple. There are several ways Indy can help you save time with invoicing.
- Our online invoice software can take the hassle out of invoicing, with a generator that produces simple invoice templates in seconds. Our invoice tools also make it easy to send professional invoices at set intervals—perfect for freelancers with recurring clients.
- Our Time Tracker tracks your hours for you. If you are billing customers based on an hourly rate, Indy's time tracking widget shows you how many hours have been billed, or still need to be billed, and can be filtered to your projects for easy timekeeping.
Indy can help you manage your project all on one platform. Sign-up now and try it for yourself!
Conclusion
So, there you have it, the art of invoicing demystified. It's clear that an effective invoice is more than just a formality. It's a tool that not only ensures you get paid for your hard work but also helps in fostering trust and professionalism with your clients. Remember, the key to a successful invoice lies in its readability, comprehensive details, and a clear layout. A well-designed invoice, with distinct sections and highlighted crucial information, makes the payment process smoother for your clients.
As a content creator, you're in the business of making things easier, more enjoyable, and more engaging for your audience. Why not extend that ethos to your administrative tasks as well? To streamline your invoicing and make the whole process more efficient, why not check out Indy? It's more than just an invoicing tool, it's a platform designed to support freelancers in navigating the business side of their operations. So, why not give Indy a try and see how much more time you can dedicate to doing what you love – creating!