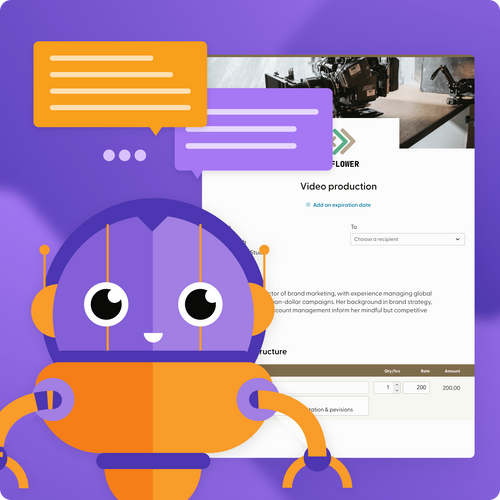
Invoice
Invoice #
011
Reference #
BD-32
Issued
Jan 31, 2023
Due
Feb 14, 2023
From
Your Name
Your Company
Your Address
To
Client's Name
Client's Company
Client's Address
Date
Item
Qty/hrs
Rate
Amount
Oct 06, 2021
Connection with clients
-
1.00
0.00
Oct 01, 2021
Website updating
-
1.00
0.00
Oct 06, 2021
Website changing
-
1.00
0.00
Subtotal
$0.00
Discount
-20.00
Total due
-$20.00
Notes
Hi Client's! Thanks so much for the continued business. Looking forward to the next project.
Late fee
If this invoice is unpaid by the due date, a non-compounding late fee as a percentage of the invoice total in the amount of 10% will be applied monthly to the outstanding amount.
Thank you for your business.
Ready to get started? Sign up now and get paid fast with invoices that make it easier for clients to pay you.
Sign-up for freeHow it works
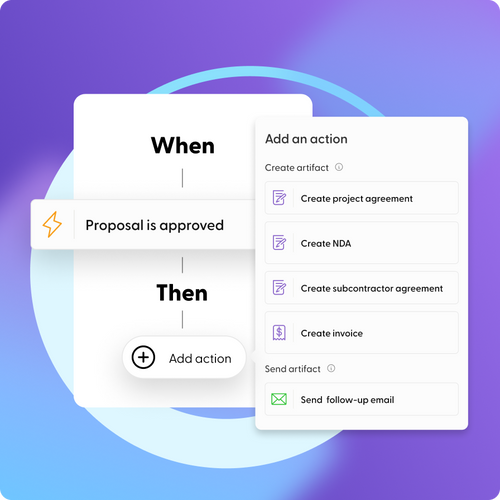
Don't wait another minute to get paid. Create your next invoice in minutes, accept flexible payment methods, and track the status of every payment in one place. Here’s how to get started:
Sign up for a free Indy account
Launch Indy’s invoice builder
Edit your invoice in minutes
Send it off with just a click
Get paid fast
Get paid quicker and easier
Indy Invoice templates take the pain out of billing.
- Build and send an invoice in minutes.
- Personalize your invoices with your brand color and logo, and leave a nice message for your recipient.
- Accept payment by top credit and debit cards, check, wire transfer, direct deposit, and more.
- Add your unbilled time tracks to your invoices as line items for easy payment.
- Include discounts, late fees, and request deposits.
- Make single invoices or set up recurring billing.
- Send your invoices straight from Indy or export them to PDF to send them however you want.
- Keep track of each invoice’s status, so you know who has paid and who to remind.
- Set the estimates in your proposals to automatically generate invoices when accepted.

Website Support Invoice Template FAQ
Other Invoice Templates
Accountant Invoice TemplateActor Invoice TemplateAdvertising Invoice TemplateArchitecture Invoice TemplateArtist Invoice TemplateAttorney Invoice Template
Start for freeIndy University
Explore our blog for more info on closing deals.


Be more productiveHow to Send Availability in GmailWondering how to send your availability through Gmail? Click to unlock the power of Gmail's "Offer times you're free" feature to streamline meeting scheduling. Learn how to effortlessly send your availability and revolutionize your coordination with clients and colleagues today!


FinancesThe Ultimate Financial Guide for Freelancers: Avoiding Tax Pitfalls, Investing with No Sav...Looking for financial guidance as a freelancer? This comprehensive guide covers the most important things you need to know, from avoiding tax pitfalls to investing with no savings. Learn how to budget effectively and achieve long-term financial success with these must-read articles.